Elise - A Responsive Blogger Theme, Lets Take your blog to the next level using this Awesome Theme

This is an example of a Optin Form, you could edit this to put information about yourself or your site so readers know where you are coming from. Find out more...


Following are the some of the Advantages of Opt-in Form :-

  • Easy to Setup and use.
  • It Can Generate more email subscribers.
  • It’s beautiful on every screen size (try resizing your browser!)

Sunday 9 June 2013

// // 2 comments

IMEI Restore Micromax A116 HD


Somehow while flashing Custom ROM if you lost IMEI than need not to worry
Here is Tutorial for Restoring IMEI for Micromax A116.

As you aware that MMX A116 has MT6589 chipset, so may be possible that it work on other MT6589 basis Devices as well (Not confirmed yet).
Basic Requirements
  1. A116 and USB cable
  2. Windows PC (I use Windows8, so most probably it will work with Windows7 as well)
  3. PC Companion installed on the computer (Specific Drivers : x86 or x64)
  4. Latest Firmware (currently : S9201_MP_F4_B1_IN_MMX_0.16__flasher_user)
  5. Smart Phone Flash Tool (Download Link 1 or Link 2 )
  6. SN Write tool v2.1132.0 (Download Link 1 or Link 2 )
This tutorial is based on my experience on my phone with firmware "S9201_MP_F4_B1_IN_MMX_0.16"

Follow each instructions step by step. It has TWO Parts :
PART ONE
1. SwithOff the phone.
2. Run Smart Phone Flash Tool
  • Go Option
    • Select USB Mode
    • Select DA Download All> Speed > Force to High Speed
  • Open Scatter-loading
    • Select scatter file "MT6589……emmc" from latest stock ROM > Open
    • Keep selected all the files
    • Select option Format on the Left Top
      • select Format whole Flash under Auto Format Flash > OK
  • Now connect Phone through USB Cable
  • #The formatting will be complete in approximately 3 minutes#
  • #Wait till Green O circle Appears#
  • When it's done Close the Smart Phone Flash Tool
  • Disconnect Phone from PC.
3. Re-open Smart Phone Flash Tool
  • Open Scatter-loading
    • Select scatter file "MT6589……emmc" from latest stock ROM > Open
    • Keep selected all the files
    • Select Download
  • Now again connect Phone through USB Cable
  • #Again formatting will take approximately 3 minutes to complete#
  • #Wait till Green O circle Appears#
  • When it's done Close the Smart Phone Flash Tool
  • Disconnect Phone from PC
Half Part is complete now
PART TWO

4. Again SwitchOff the Phone (I know you definitely SwitchedON the phone and saw IMEI )
5. Open SN_STATION (shortcut for SN Write tool v2.1132.0)
  • Under Function Select
    • Select Write IMEI + Backup Nvram (WM/Android only)
    • Select SmartPhone
  • Under MODE Select
    • Keep the Switch to Meta Mode (downwards)
  • Under COM PORT
    • Select USB VCOM
  • Under SP Backup Nvram Option
    • Put check on Set clean Boot
  • Under IMEI Options
    • Put check on Dual IMEI
  • Under NVRAM Database File
    • Modem Database > BPLGUInfoCustomAppSrcP.....MP_V1 (located under the [DataBase] folder inside Firmware folder)
    • AP Database > APDB_MT6589.....W10.24 (located under the [DataBase] folder inside Firmware folder)
  • Keep the Switch to Com port (Upwards)
  • Press START(F6)
  • It will open IMEI Input Console
    • Under IMEI Scanner
      • Write down First IMEI
      • Write down Second IMEI
      • OK
  • Restoration is Done Now

Read More
// // Leave a Comment

Micromax A116 flashable Stock ROM 4.2

WARNING:: READ EVERYTHING BEFORE FLASHING..

This is for all of them who like to use the rooted device with stock rom..(ALL BUGS FIXED IN NEW UPLOAD)

This is Neat Stock ROM of Canvas HD 4.1.2 AND 4.2..

Backup Everything before flashing to save your IMEI..
TWRP -- (system, data, android secure, boot, cache, nvram)
CWM -- didnt tried on that..

DON'T TOUCH PHONE's SCREEN ON FIRST BOOT (don't even press the OK button), LET THE TPUPGRADE DO HIS WORK, WAIT FOR AT LEAST 5 MINUTES BEFORE DOING ANYTHING,

Just Deodexed (For All MODs Support)
And Added Some Tweaks (Build.prop, init.d)
Nothing Custom At All..


How To Flash :
( You must take CMW Backup for Revert back to your old system )

1) Download A116StockFIXED.zip
2) Put into External/Internal SD Card
3) Go To CMW Recovery
4) Wipe Data/Factory Reset And Wipe Partition
5) From Advance Menu Do Dalvik Catch Clear
6) From Advance Menu Do Battery State Clear
7) Go in Mount And Storage select FORMAT SYSTEM
8) Select Install From SD and Select File And Click YES
9) Go to Advanced Menu and fix permissions.
10) Reboot Your System.

INSTALL TITANIUM BACKUP FOR UNINSTALLING SYSTEM APP (Like MMX LIVE etc..)

Removed micromax registration..


4.1 V.16 DOWNLOAD HERE...


4.2 Download Here


OFFICIAL MMX VERSION, NOT PORTED OR MYPHONE'S

DON'T TOUCH PHONE's SCREEN ON FIRST BOOT (don't even press the OK button), LET THE TPUPGRADE DO HIS WORK, WAIT FOR AT LEAST 5 MINUTES BEFORE DOING ANYTHING, OR WAIT UNTIL IT SAYS FIRMWARE FLASH SUCCESSFULLY, PRESS POWER BUTTON WHEN SCREEN TURNS OFF (ITS SAFE DONT WORRY)

Read More
// // Leave a Comment

Tutorial on 4.2.1 Update via SP Tool and Rooting[new links]

Tutorial on 4.2.1 Update via SP Tool and Rooting


Basic Requirement and Downloads

1.Download New version of SP Tool (SP_Flash_Tool_v3.1304.0.119) from here : FT3.13.04.rar or SP Tool 3.13.4
2.Download 4.2.1 stock ROM (SP tool flashable only) from here: 116 4.2 all.rar
3.Extract the “S9201_4.2_MP_F3F8_B1_IN_MMX_09_FLASHER_USER” folder from the 4.2.1 Stock Rom RAR file (actual RAR file name 116 4.2 all.rar)
4.Extract the SP tool folder “SP_Flash_Tool_v3.1304.0.119” from the downloaded FT.3.14.04.rar file
5.For Rooting – Download CWM 6.0.3.0, SuperSU-v1.25.zip and scatter_emmc.
6.Copy the SuperSU-v1.25.zip to SDCARD.

Installation Process.

1. Run the Flash_tool.exe as Administrator from the SP_Flash_Tool_v3.1304.0.119
2. Select the MT6589_Android_scatter_emmc.txt from the subfolder of S9201_4.2_MP_F3F8_B1_IN_MMX_09_FLASHER_USER
3. Check the Option > USB Mode selected
4. Check the Option > DA Download All > Speed > Force to High Speed selected
5. Click on Download
6. Switch off Your Handset (MMX A116 only) and remove the battery.
7. Connect the battery (don’t try to switch on)
8. Connect the USB cable and let SP Tool to search your handset and download the ROM
**Don't interrupt this process as it can potentially brick your device.
9. In this process the Progress bar will become RED 100%, then INDIGO 100% and finally YELLOW 100%, the entire Process will take around 2-3min only
10. One Green Circle will come after successful installation.
11. Now you can switch on your handset.

For Rooting

1. Run the Flash_tool.exe as Administrator from the SP_Flash_Tool_v3.1304.0.119
2. Select the MT6589_Android_scatter_emmc.txt which you have downloaded from scatter_emmc
3. select only the Recovery file download as “recovery-cwm-6.0.3.0.img”
4. Check the Option > USB Mode selected
5. Check the Option > DA Download All > Speed > Force to High Speed selected
6. Click on Download
7. Switch off Your Handset (MMX A116 only) and remove the battery.
8. Connect the USB cable and let SP Tool to search your handset and download the ROM
**Don't interrupt this process as it can potentially brick your device.
9. In this process the Progress bar will become RED 100%, then INDIGO 100% and finally YELLOW 100%, the entire Process will take around 2-3min only
10. One Green Circle will come after successful installation.
11. Disconnect the USB Cable and Connect the Battery - do not switch on now.
12. Boot in to recovery mode by processing (Volume Up) + (Volume Down) + (Power Buttons)
13. It will show you a screen as Recovery Mode: Volume Up, press the Volume Up.
14. Select install zip from SDCARD and locate and select the SuperSU-v1.25.zip which you copied earlier
15. After installation complete message, reboot your handset.
16. Now you most see SuperSU icon in app draw screen.

Read More
// // Leave a Comment

CWM 6.0.3.0 [Latest] For Micromax a116 hd

Here is the CWM 6.0.3.0 for Micromax A116 Canvas HD

Requirements:
1.Root and MOBILE UNCLE TOOLS APP(if u want to flash through Mobile)
2.Sp Flash Tool(If u want to flash it From PC)

Download: CWM 6.0.3.0 for Micromax A116
Download: Sp Flash Tools For Mediatek phones

Instructions for flashing in your phone:
1.Download the recovery and Put it in root of your SDCARD
2.Open Mobile uncle tools and select Recovery Update
3.Flash recovery-cwm-6.0.3.0.img file
4.Done

Instructions for flashing using SP Flash Tools:
1. Install drivers for your phone using Micromax drivers.
2. Extract the Stock ROM folder and replace recovery.img with cwm recovery.
3. Extract and open the SP Flash Tools.
4. In SP Flash Tools, click on Scatter-Loading and the program will ask you the location of the scatter loading file for your device select mt6589 scatter file.txt
5.Check only recovery.img, preloader and uncheck all others.
6. Switch off your phone (Remove the battery to make sure it is switched off).
7. In Flash Tool, go to Options and Click USB Mode so that it is enabled. Click options again and then go to DA Download All > Speed and finally select High Speed.
8. Click the Download option (present on the right of Firmware
> Upgrade option) and the flash tool will start looking for your phone.
9. Connect your phone now. The Flash Tool will start the flashing process, the progress of which can be viewed from a yellow progress bar at the bottom of the flash tool.
Warning 1 - Don't interrupt this process as it can potentially brick your device.
Warning 2 - Make sure no power interruption takes place. (Use a laptop to ensure this).

10. After the process completes, a green ring will appear on your device signalling that the process was successful.
11.Disconnect your phone.

Credits: To XDA MEMBERS Thanx For THis


Any Questions just Comment here
Read More

Saturday 25 May 2013

// // 1 comment

[ROM] [4.2.1] MegaHD V2 Stable Rom For Micromax A116


Biggest Surprise Awated Yet
I Am Back Again With 4.2.1 MegaHD ROM
This is the First Ever Upgrade For Micromax A116 .


Quote:
MegaHD Rom Features

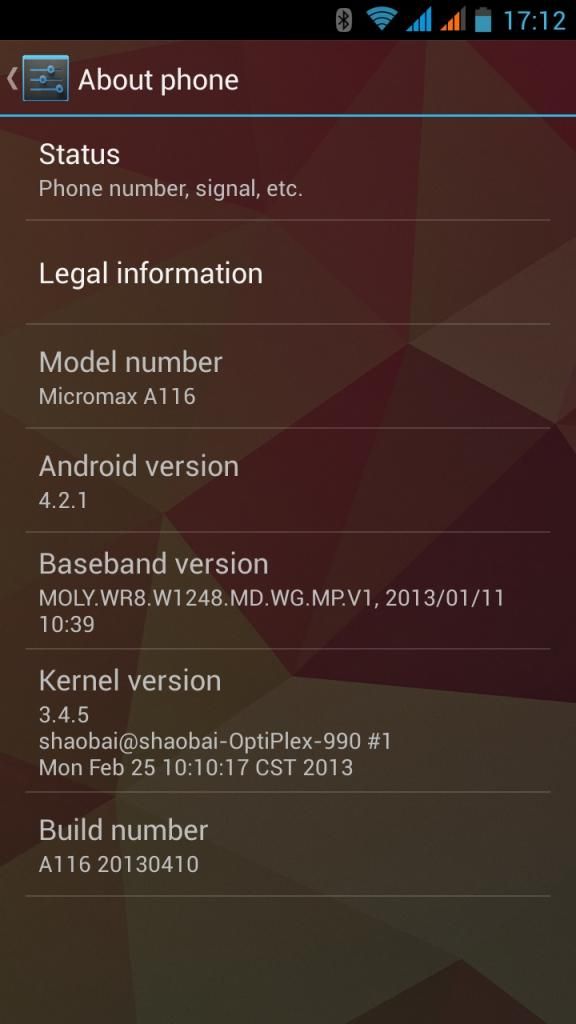
-> Android 4.2.1
-> 12 MP Camera
-> New Baseband
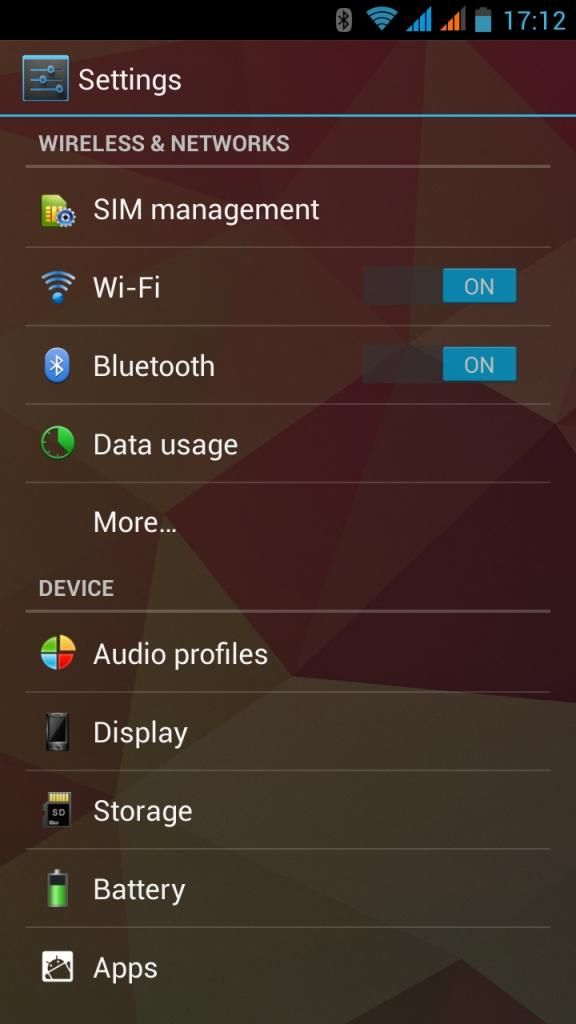
-> Transparent Settings
-> Faster And Smoother
-> Pre-Rooted
-> busybox
-> Faster Streaming
-> Net Speed Tweaks
-> Signal Tweaks
-> Better Responsiveness & Speed
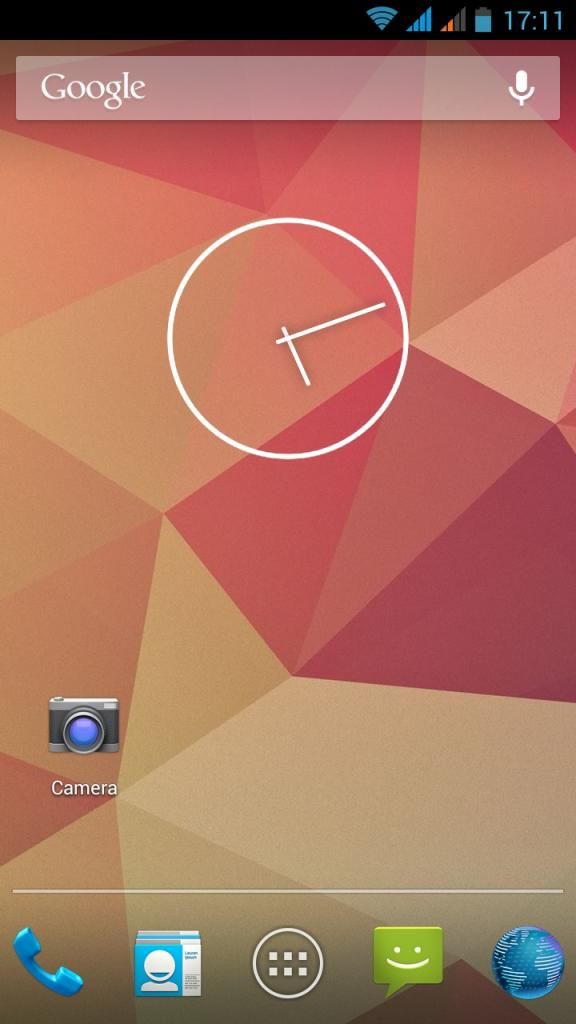
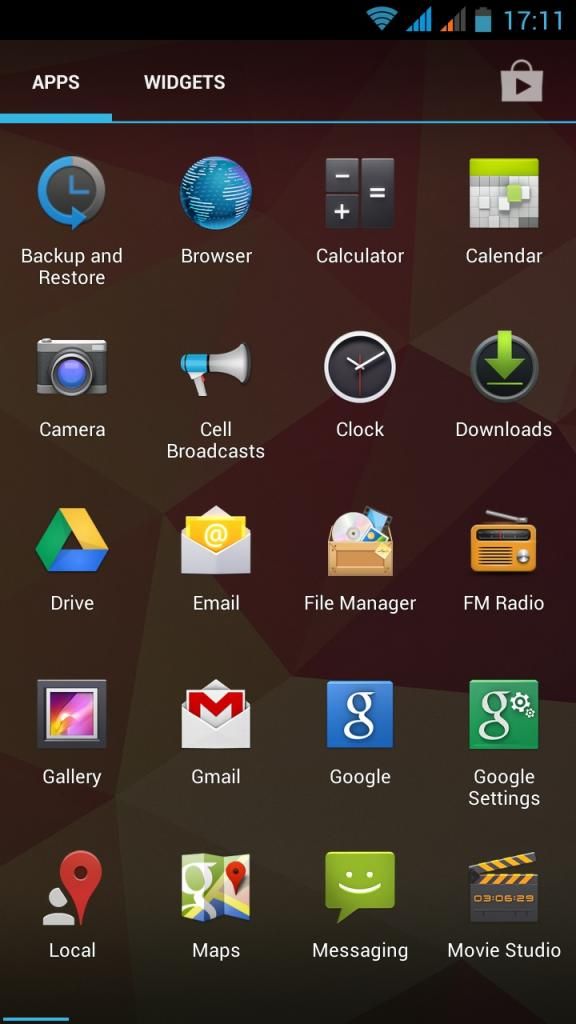
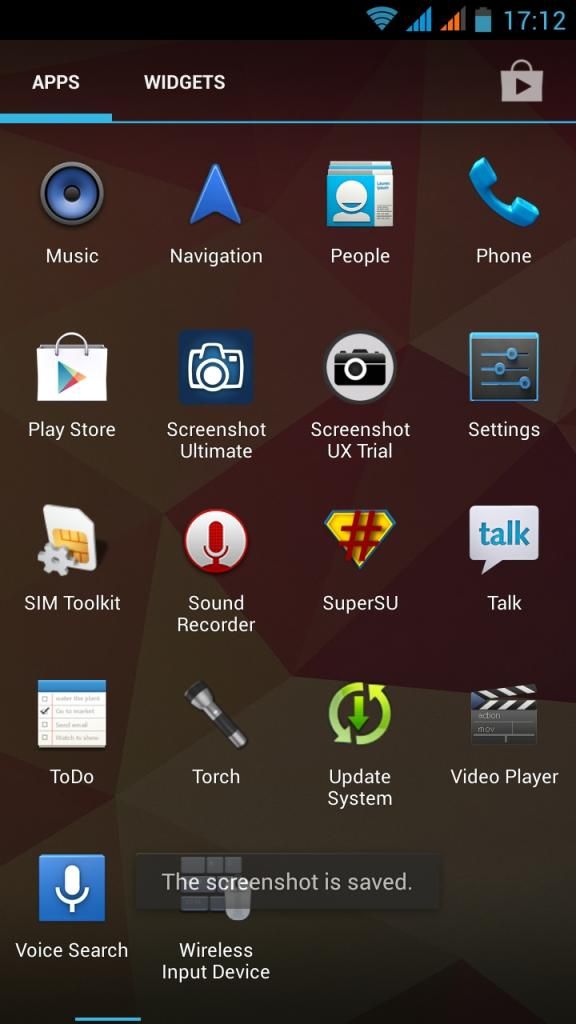
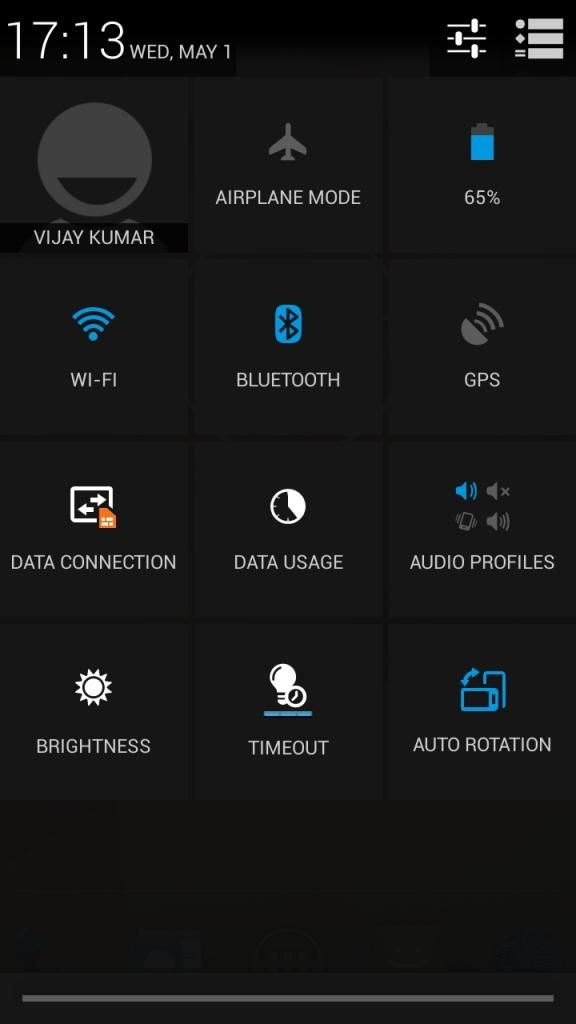
Screen Shots->


Quote:
Download V2.3 : http://d-h.st/NC5
Download Ramdisk : http://d-h.st/pVa
Download GApps : http://goo.im/devs/UniqueDroid/gapps...129-signed.zip


Quote:
Bugs : 1080P HW Rendering

(Kindly Follow Instruction To Install ROM , Read Notes Before Post Question. )


How To Flash :
( You Can Take CMW Backup for Revert back to your old system )

1) Download Rom.zip File
2) Flash Boot.img using SP Flash Tool.
3) Put into External/Internal SD Card
4) Go To CMW Recovery
5) Wipe Data/Factory Reset And Wipe Partition
6) From Advance Menu Do Dalvik Catch Clear
7) Go in Mount And Storage select FORMAT SYSTEM
8) Select Intall From SD and Select File And Click YES
9) Select MegaHDV2.zip And Select YES
10) Flash Gapps
11) Reboot Your System
12) Enjoy


Steps to Get Working Boot.img :
1. Unpack Stock Boot.img using Kitchen
2. Delete Boot.img-ramdisk Folder
3. Download and Paste Boot.img-ramdisk Folder provided by me
4. Repack Boot.img and it is Ready


Credits:
Base Rom- ZOPO Devs
Testing, Screenshots and Much More - Vijay , Mohammad Abdul Sajid, Abhiroxx ( Tons Of Thanks )
Back37- Idea of Porting
Suhas.holla - Camera fix

Desclaimer :
I Will Not Responsible For Any Brick or Any Problem So Flash At Your Own Risk.
Thank You.
Read More

Friday 24 May 2013

// // Leave a Comment

[CWM] Micromax A116 CWM 6.0.1.2 + Root

[CWM] Micromax A116 CWM 6.0.1.2 + Root


Using Flash Tools to Flash CWM Recovery to A116


Quote:

Requirements:
CWM Rewcovery
Flash Tool
A computer
A Micromax A116 (obviously)


Steps To Follow:-

1. Install drivers for your phone using Micromax drivers.
2. Extract the Stock ROM folder and replace recovery.img with cwm recovery.
3. Extract and open the SP Flash Tools.
4. In SP Flash Tools, click on Scatter-Loading and the program will ask you the location of the scatter loading file for your device.
5. In the extracted folder of the stock rom, go to the folder named "S9201_MP_F4_B1_IN_MMX_0.16_flasher_user" and select the file "MT6589_Android_scatter_emmc" which is our scatter loading file.
Check only recovery.img, preloader and uncheck all others.
6. Switch off your phone (Remove the battery to make sure it is switched off).
7. In Flash Tool, go to Options and Click USB Mode so that it is enabled. Click options again and then go to DA Download All > Speed and finally select High Speed.
8. Click the Download option (present on the right of Firmware
> Upgrade option) and the flash tool will start looking for your phone.
9. Connect your phone now. The Flash Tool will start the flashing process, the progress of which can be viewed from a yellow progress bar at the bottom of the flash tool.
**Don't interrupt this process as it can potentially brick your device.
**Make sure no power interruption takes place. (Use a laptop to ensure this).
10. After the process completes, a green ring will appear on your device signalling that the process was successful.
11.Disconnect your phone.


CWM is tested working.

Changelog:

[6/3/13]
1. Fixed external memory backup issue
2. Center image is now of CWM


Root tutorial:-
1. Flash both these files through cwm

http://downloads.noshufou.netdna-cdn...arm-signed.zip
http://downloads.androidsu.com/super...arm-signed.zip


Credits:
Mahommad Abdul Sajid- Testing
Yuweng- Porting methods
Micromax A110- Original Recovery
Read More
// // Leave a Comment

Flash Orginal Rom Of Micromax A116 Using Sp flash tools

Using Flash Tools to Flash Stock ROM to A116


Requirements:
Stock ROM
Flash Tool
A computer
A Micromax A116 (obviously)


Steps:-
1. Install drivers for your phone using Micromax drivers.
2. Extract the Stock ROM folder
3. Extract and open the SP Flash Tools.
4. In SP Flash Tools, click on Scatter-Loading and the program will ask you the location of the scatter loading file for your device.
5. In the extracted folder of the stock rom, go to the folder named "S9201_MP_F4_B1_IN_MMX_0.16_flasher_user" and select the file "MT6589_Android_scatter_emmc" which is our scatter loading file.
6. Switch off your phone (Remove the battery to make sure it is switched off).
7. In Flash Tool, go to Options and Click USB Mode so that it is enabled. Click options again and then go to DA Download All > Speed and finally select High Speed.
8. Click the Download option (present on the right of Firmware
> Upgrade option) and the flash tool will start looking for your phone.
9. Connect your phone now. The Flash Tool will start the flashing process, the progress of which can be viewed from a yellow progress bar at the bottom of the flash tool.
**Don't interrupt this process as it can potentially brick your device.
**Make sure no power interruption takes place. (Use a laptop to ensure this).
10. After the process completes, a green ring will appear on your device signalling that the process was successful.
11.Disconnect your phone.


Changelog:
Software release notes
1. With a fix of unable to install Flip board application.
2. With a fix of auto rotation issue.
3. Live wallpaper is integrated as a option for user to set as manual.
4. M! Store application is removed.


DOWNLOAD PACKAGE:-

mod edit
SP Flsh tools:-

http://www.mediafire.com/?7ccl2tw67tklxdk

Drivers:-

http://www.mediafire.com/download.php?nv96xclhjmaiclu
Read More